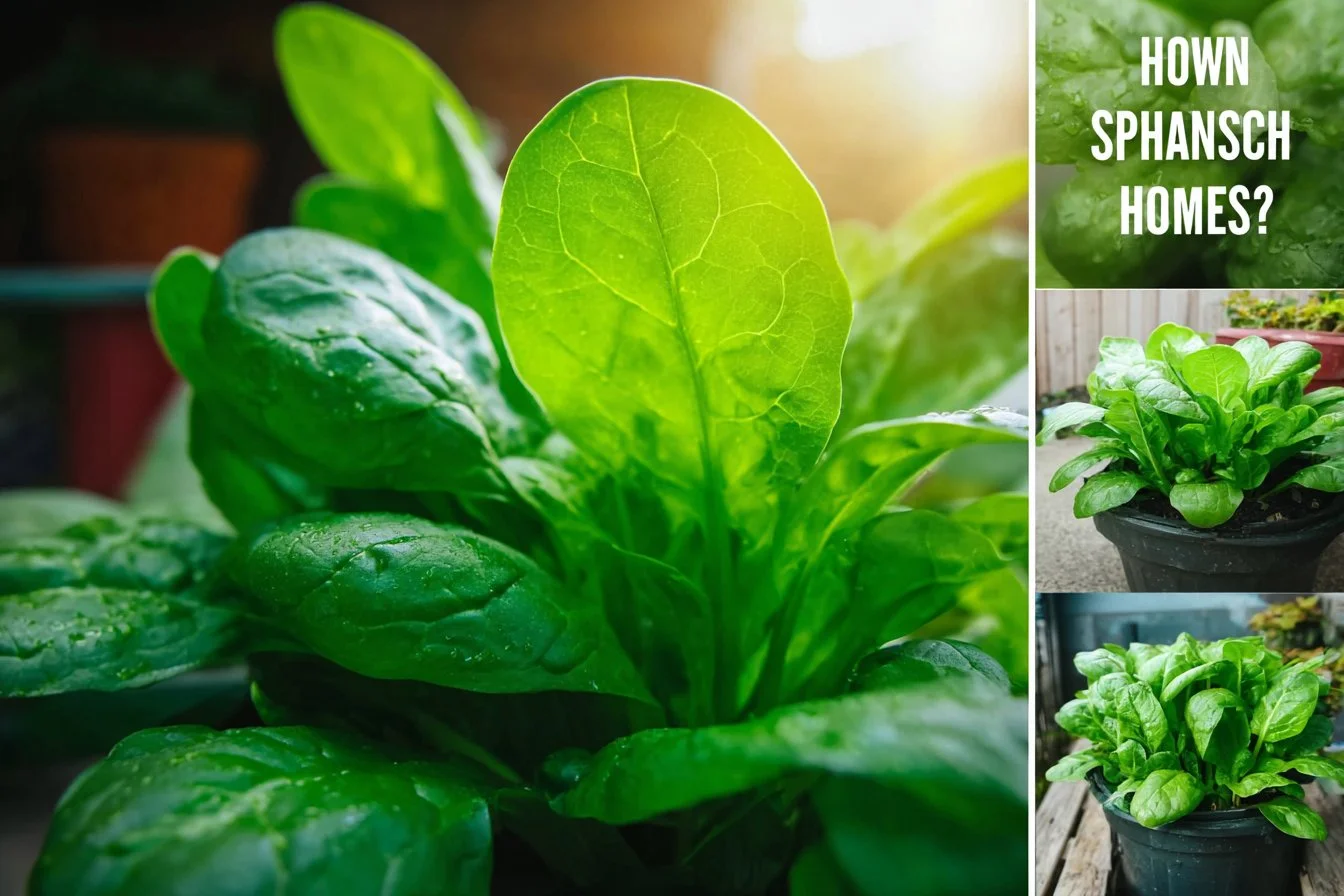
Spinach is one of those kitchen heroes: fast to grow, versatile in recipes, and surprisingly forgiving for beginners. After 15 years of gardening (and more than a few pots of bitter, bolted leaves), I’ve learned the little tweaks that help indoor spinach thrive. If you’re already experimenting with other edibles, you might enjoy this guide on how to grow easy volunteers like sunflowers alongside your greens: how to grow black oil sunflower seed at home.
This article covers varieties, light and placement, soil and containers, common mistakes, seasonal adjustments, troubleshooting, and a handy checklist to get you harvesting tender leaves in weeks.
Table of Contents
Why grow spinach indoors?
Indoor spinach is great when outdoor space or seasonality limits you. A few advantages:
- Year-round harvests if you control light and temperature.
- Fewer slug and snails (but don’t forget indoor aphids).
- Quick returns: baby spinach can be harvested in 4–6 weeks.
- Leaves are nutrient-dense and versatile for salads, smoothies, and cooking.
That said, indoors you trade pests for limits on light, humidity and airflow — so it helps to plan.
Choose the right variety
Not all spinach is created equal. Pick a variety that matches your space and goals.
- Baby leaf / salad mixes: Fast, harvested young, great for continuous cutting.
- Smooth-leaf (e.g., ‘Bloomsdale Long Standing’ smooth types): Easier to clean, better for cooking.
- Savoy (wrinkled): Classic taste, can be more robust but trickier to clean.

If you’re unsure, start with a baby-leaf mix — they’re forgiving and you can harvest repeatedly. I keep a couple of pots of baby leaf for salads and a pot of Bloomsdale for sautéing.
Containers, soil and fertilizer
Indoor spinach prefers shallow but wide containers.
- Pot size: 6–8 inches deep is fine; aim for wider pots (10–12 inches across) so you can sow more seeds for succession harvests.
- Drainage: Essential. I add broken pottery or a layer of perlite at the bottom, but good drainage holes and well-draining potting mix matter most.
- Soil: Use a light, loamy potting mix with compost. Avoid heavy garden soil indoors — it compacts and retains too much water.
- pH: Spinach likes slightly acidic to neutral soil (pH 6.0–7.0). Most commercial potting mixes are in that range.
- Fertilizer: Mix a slow-release organic fertilizer into the potting mix or feed weekly with a diluted balanced liquid fertilizer (10-10-10) once plants are established. Spinach is a heavy nitrogen feeder; a light top-dress of compost mid-cycle helps.
Practical tip: I add a handful of worm castings to each pot at planting time — you don’t need much and the plants respond quickly.
Sowing, thinning and succession planting
How you sow affects the harvest rhythm.
- Sow depth: Plant seeds about 1/4 to 1/2 inch deep.
- Spacing: For baby leaves, sow fairly thick (1–2 inches apart) and cut leaves as needed. For full-size leaves, thin to 3–4 inches between plants.
- Thinning: Don’t be afraid to pull crowded seedlings. Thinning is one of the things new gardeners avoid — they hope plants will “figure it out.” They won’t. Thinning reduces disease risk and improves airflow.
- Succession planting: Sow every 2–3 weeks for a steady supply. Spinach tolerates short days and cool temps, so quick successions work well indoors.
A note from my experience: I once sowed too densely in a deep pot and tried to coax them out without thinning. They all stayed spindly and weak. Thin early and use the pulled seedlings in salads.
Also useful if you’re planning mixed edible pots: here’s a guide on growing fruit trees indoors that helps plan space and timing for companions: 5 steps to grow delicious cherries at home.
Light requirements and window placement
Light is the limiting factor for indoor spinach. Spinach is a cool-season crop and prefers bright light but not intense heat.
General rule: 10–12 hours of bright light a day for steady growth. If your window doesn’t provide that, supplement with LED grow lights.
Window placement by direction:
- South-facing windows: Best natural light in the Northern Hemisphere. Place containers here for strong growth; watch heat in summer (spinach prefers cooler temps).
- West-facing windows: Good afternoon light; can work well but monitor mid-afternoon heat in warm months.
- East-facing windows: Morning light is gentle and often ideal — cooler and less intense.
- North-facing windows: Usually too low-light for steady growth unless you have a bright room; use grow lights instead.
Practical tip: I keep my pots on a south window in winter and move them to an east window in late spring to avoid bolting from afternoon heat.
If using grow lights:
- Hang LEDs about 6–12 inches above plants and run 10–12 hours/day.
- Full-spectrum LEDs are ideal; inexpensive shop LEDs work fine for spinach.
- Rotate pots weekly if only one light source so plants grow evenly.
Water, humidity and airflow — indoor-specific constraints
Indoor gardening is a balancing act of moisture and air.
- Watering: Spinach likes evenly moist soil — not sopping wet. Water when the top 1 inch of soil feels dry. I often bottom-water (place pot in a shallow tray of water for 10–20 minutes) to avoid splashing leaves.
- Avoid overwatering: Root rot is a common indoor problem. If leaves yellow from the bottom and stems feel soft, cut back watering and check drainage.
- Humidity: Spinach tolerates moderate humidity. Typical indoor humidity (30–50%) is fine. If your home is very dry, a humidity tray or grouping pots together helps. If humidity is very high and there’s little airflow, you’ll invite fungal problems.
- Airflow: A small oscillating fan on low for a few hours a day improves airflow, strengthens stems, and reduces mildew risk. I run mine during the warmest part of the day.
Real-life note: My apartment had perfect light but stagnant air; a brief bout with powdery mildew taught me to always use a fan.
Temperature and seasonal adjustments
Spinach prefers cool conditions — around 50–70°F (10–21°C). Indoors, that means adjusting for seasons.
- Winter: Shorter daylight and cooler temps can actually suit spinach, but add supplemental lighting if windows are shaded. Avoid placing containers on radiators or too close to heat vents.
- Spring/Fall: Ideal natural conditions. Watch for warm sunny days that can trigger bolting; move plants into cooler, shadier spots if needed.
- Summer: Spinach often bolts in heat. Use shade cloth on a south window or move pots to an east window. Increase watering frequency but avoid waterlogged soil.
Seasonal tip: In my zone, late spring sunny afternoons made spinach bolt quickly. I shifted indoor pots to a shadier window and added a fan — harvests extended by several weeks.
Beginner mistakes and how to avoid them
Every gardener makes errors — here are the common ones I see and how to fix them.
- Mistake: Overwatering. Symptoms: yellowing leaves, limp growth, root rot.
- Fix: Check drainage, reduce frequency, bottom-water. Use well-draining potting mix.
- Mistake: Too little light. Symptoms: leggy plants, slow growth, pale leaves.
- Fix: Move to brighter window or add grow light 10–12 hours/day.
- Mistake: Overcrowding. Symptoms: small leaves, disease, poor airflow.
- Fix: Thin seedlings early or transplant to larger pots; use succession sowing.
- Mistake: Letting plants bolt. Symptoms: tall flower stalks, bitter leaves.
- Fix: Keep cool, shade during hot afternoons, harvest frequently.
- Mistake: Feeding too much fertilizer. Symptoms: lush foliage but poor flavor, salt buildup.
- Fix: Use balanced feeding and occasional flushing of potting mix with water.
I once blamed bad seeds for poor growth, when the real issue was the pot had no drainage. Check the basics first.
Also, while you’re learning ornamental and care differences, I recommend reading about caring for companion flowers — a practical comparison: how to grow and care for Mexican hat flower. The cultural care notes helped me adjust watering schedules across my indoor beds.
Common pests, diseases and troubleshooting
Indoors you’ll see different issues than outdoors — fewer slugs, more sap-sucking insects and fungal spots.
- Aphids: Small clusters on tender leaves. Spray with water, or dab with insecticidal soap. Neem oil works for persistent infestations.
- Leaf miners: Rare indoors, but watch for winding trails. Remove affected leaves promptly.
- Powdery mildew and downy mildew: Often from high humidity + poor airflow. Improve ventilation and reduce humidity, remove affected leaves, and avoid overhead watering.
- Yellowing leaves: Could be overwatering, nutrient deficiency, or root problems. Check soil moisture and roots.
- Bolting: Heat or long daylight triggers bolting. Lower temp, shade, or harvest immediately.
Troubleshooting tip: When I saw tiny sticky residue on leaves, I wiped a leaf and found ants — a sign of aphids. Treat aphids and the ants will disperse.
For more intensive issues (persistent fungal problems), repotting into fresh mix and sterilizing containers helped me reset problem-prone pots.
Harvesting and storage
- Cut-and-come-again: For baby leaves, harvest outer leaves when they’re 2–3 inches long. This encourages regrowth.
- Full heads: Harvest whole plants when mature by cutting at the base.
- Timing: Harvest in the morning when leaves are crispest.
- Storage: Wash, spin dry, and store in an airtight container with a paper towel in the fridge. Use within 5–7 days for best flavor.
Personal observation: Baby leaves pick up room smells (like garlic if near the stove) more than mature plants. Keep leafy pots away from strong kitchen odors if you want neutral flavor.

Quick Indoor Checklist
- Container: 6–8 in deep, wider is better; drainage holes present.
- Soil: Light, rich potting mix + compost; pH 6.0–7.0.
- Light: 10–12 hours bright light (south/east/west window or LED grow light).
- Water: Keep evenly moist; avoid waterlogging; bottom-water if possible.
- Temperature: 50–70°F (10–21°C).
- Fertilizer: Light balanced feed every 2–3 weeks or slow-release at planting.
- Airflow: Small fan for circulation; thin seedlings for airflow.
- Succession: Sow every 2–3 weeks for continuous harvest.
- Pest check: Inspect weekly for aphids or mildew.
- Harvest: Pick baby leaves at 4–6 weeks; full heads in 6–8 weeks.
Conclusion
Growing spinach indoors is one of the most satisfying small-scale gardening projects — quick, edible, and great for learning how light, water and airflow interact in a tiny ecosystem. For practical regional extension advice that complements this guide, check out the University of Maryland’s practical resource on Growing Spinach in a Home Garden. For straightforward growing steps and variety notes, Bonnie Plants has a helpful overview at Growing Spinach – Bonnie Plants.
Try different windows, adjust lighting, and don’t be afraid to experiment — a few failed pots taught me more than a dozen perfect ones. Happy planting!
FAQ
Q: Can I grow spinach indoors year-round?
A: Yes. With adequate light and temperature control (cool conditions and 10–12 hours of light), you can grow spinach year-round. In summer, protect from heat to avoid bolting.
Q: How much light does indoor spinach need?
A: Aim for 10–12 hours of bright light daily. A south-facing window may suffice in winter; otherwise use a full-spectrum LED grow light.
Q: How often should I water my indoor spinach?
A: Water when the top inch of soil is dry. Typically every 4–7 days depending on pot size, temperature and humidity. Bottom-watering reduces leaf wetness and disease risk.
Q: Why are my spinach leaves turning yellow?
A: Yellowing can come from overwatering, poor drainage, nutrient deficiency, or root damage. Check moisture, ensure drainage and consider a balanced fertilizer if leaves are pale overall.
Q: When will I be able to harvest spinach?
A: Baby leaf harvests are possible in 4–6 weeks. Full mature leaves or whole-plant harvests take 6–8 weeks depending on variety and growing conditions.