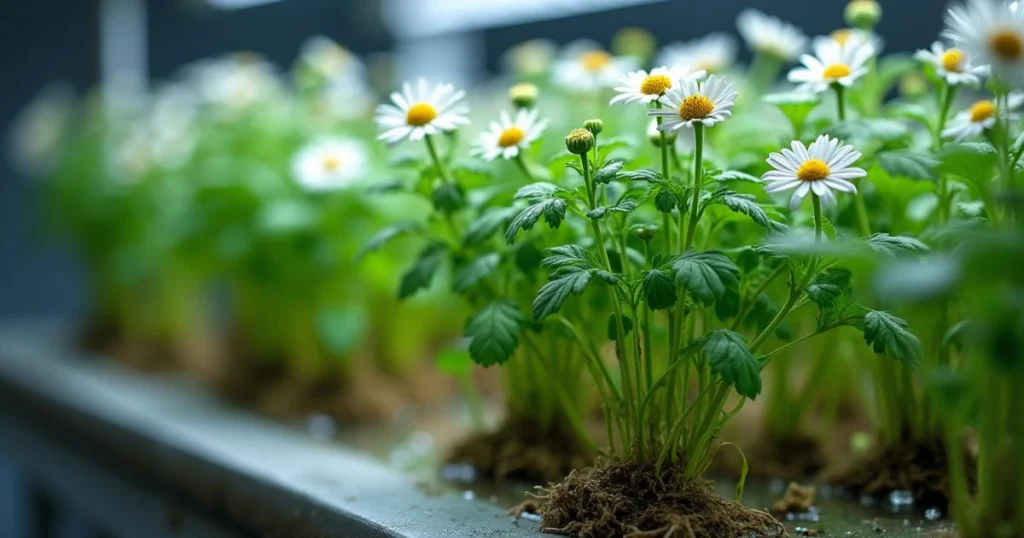
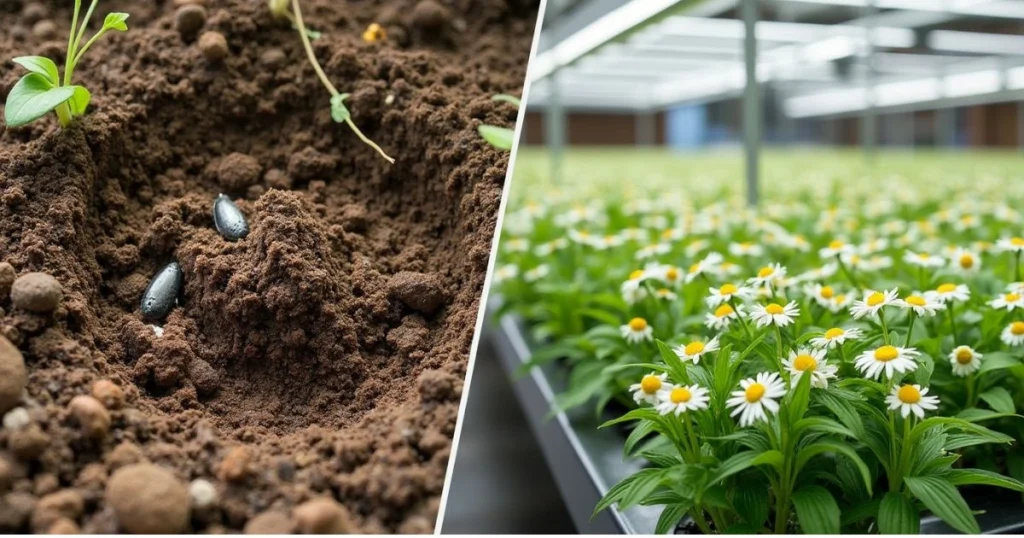
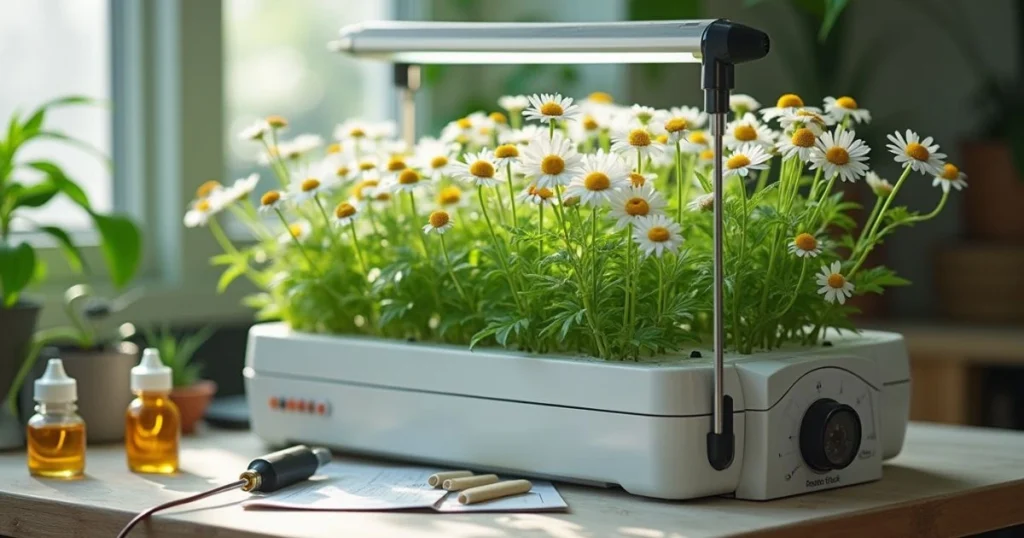
Imagine sitting in the comfort of your home, sipping a warm cup of chamomile tea brewed from flowers you’ve grown yourself—all without setting foot outdoors. Hydroponic gardening is a revolutionary way to grow plants efficiently, and chamomile, with its delicate flowers and numerous uses, is a perfect candidate for this modern gardening method. This guide will help you master the art of growing Chamomile Hydroponically and its cultivation, whether you’re a beginner or looking to expand your gardening repertoire.
Table of Contents
What Is Chamomile Hydroponics?
The Basics of Hydroponic Gardening
Hydroponics is the practice of growing plants in water enriched with nutrients instead of soil. This method is becoming increasingly popular for its efficiency and adaptability. Plants receive all essential nutrients directly to their roots in a controlled environment, resulting in faster growth, better yields, and fewer resource requirements.

For chamomile, which thrives in well-drained, nutrient-rich soil, hydroponics eliminates concerns like soil compaction, poor drainage, or nutrient deficiencies. Instead, you create a custom environment that caters specifically to chamomile’s needs.
Why Growing Chamomile Hydroponically?
Chamomile is a versatile herb known for its calming properties and fragrant blooms. Here’s why hydroponics is the ideal choice:
- Consistent Quality: Hydroponics allows you to control every aspect of the growing process, resulting in high-quality, uniform flowers.
- Pest-Free Environment: Without soil, many common pests and diseases are eliminated, reducing the need for pesticides.
- Space Efficiency: Even a small hydroponic system can produce an abundant chamomile harvest, making it ideal for apartments or homes with limited outdoor space.
- Eco-Friendly: Hydroponics uses up to 90% less water than traditional gardening, making it a sustainable choice for eco-conscious gardeners.
- Quick Harvests: Chamomile grows faster hydroponically, letting you enjoy your first harvest in just a few weeks.

Selecting the Best Chamomile Variety for Hydroponics
Chamomile has two primary varieties, each with unique characteristics:
- German Chamomile (Matricaria chamomilla): This annual herb grows tall and produces a large number of flowers, making it ideal for harvesting. Its sweet aroma and abundant blooms make it the top choice for hydroponic gardeners.
- Roman Chamomile (Chamaemelum nobile): A perennial variety with a creeping growth habit. While it’s less productive than German chamomile, it’s perfect for those who want a decorative plant that offers similar uses.
Pro Tip: If your goal is to harvest chamomile flowers for tea, choose German chamomile. Its high yield and ease of growth in hydroponic systems make it beginner-friendly.
Setting Up Your Hydroponic Chamomile Garden
Step 1: Choosing the Right Hydroponic System
The type of hydroponic system you use will impact the growth and health of your chamomile plants. The main systems to consider are:
Wick System
This is the simplest hydroponic system, relying on a wick to draw nutrient solution from the reservoir to the plant roots. It’s a passive system with no need for pumps or electricity.
- Best for: Beginners or hobbyists experimenting with hydroponics.
- Drawback: May not provide enough nutrients for larger plants.
Deep Water Culture (DWC)
Plants are suspended in a nutrient-rich solution, with their roots submerged in oxygenated water. This system promotes rapid growth and is cost-effective.
- Best for: Intermediate gardeners seeking higher yields.
- Drawback: Requires consistent oxygenation and monitoring.
Nutrient Film Technique (NFT)
A thin film of nutrient solution flows over the roots, ensuring constant nutrient delivery.
- Best for: Compact spaces and smaller plants.
- Drawback: Roots can dry out quickly if the system fails.
Step 2: Materials Needed
To grow chamomile hydroponically, gather the following essentials:
- Hydroponic System: Wick, DWC, or NFT system.
- Reservoir: To hold the nutrient solution.
- Growing Medium: Options include rock wool, coco coir, or clay pellets.
- Net Pots: To maintain the plants in place.
- LED Grow Lights: Mimicking sunlight, essential for indoor gardens.
- Nutrients: A balanced solution tailored to herbs.
- pH Meter: To maintain optimal pH levels (5.5–6.5).
Pro Tip: Always choose high-quality grow lights. Full-spectrum LED lights are ideal for chamomile, as they provide the red and blue wavelengths necessary for healthy growth.
Planting Chamomile in Hydroponics

Step-by-Step Instructions
- Prepare the Nutrient Solution
Prepare a hydroponic nutrient solution according to the manufacturer’s instructions. Ensure the solution has the right balance of nitrogen, phosphorus, and potassium (NPK ratio 4-3-4 works well for chamomile). - Planting Seeds or Seedlings
- If starting from seeds, scatter them lightly on the growing medium.
- For seedlings, place them in net pots, ensuring the roots are in contact with the nutrient solution.
- Lighting and Temperature
- Maintain 12–14 hours of light daily.
- Keep the temperature between 20-25°C (68-77°F).
- Ventilation
Use fans or open windows to maintain airflow and prevent mold or mildew growth.
Nurturing Chamomile in Hydroponics
Chamomile plants need consistent care to thrive:
Nutrient Monitoring
- Check nutrient levels weekly. Chamomile thrives with a steady supply of nitrogen during early growth and potassium during flowering.
pH Levels
Maintain the nutrient solution’s pH within the optimal range of 5.5 to 6.5. Use a pH meter for accuracy and adjust as needed using pH up or down solutions.
Pruning
Prune chamomile regularly to promote healthy growth and prevent overcrowding. Remove yellowing leaves to redirect energy to new blooms.
Harvesting Hydroponic Chamomile
Chamomile is typically ready for harvest 6–8 weeks after planting. The flowers are most potent when their petals start curling backward.
How to Harvest
- Use sharp scissors to snip the flowers, leaving the stem intact.
- Gather your harvest in the morning when the essential oils are at their highest concentration.
Storing Chamomile
- Drying: Spread flowers on a tray in a dark, ventilated area. Once dried, store in airtight jars.
- Freezing: Preserve freshness by freezing flowers in airtight bags.
Creative Uses for Hydroponic Chamomile
1. Homemade Chamomile Tea
| Ingredient | Quantity |
| Fresh/Dried Chamomile | 2 tsp |
| Boiling Water | 1 cup |
| Honey or Lemon | Optional |

Instructions:
- Add chamomile to a teapot or infuser.
- Pour boiling water over it and let it steep for 5 minutes.
- Strain and enjoy!
2. Chamomile-Infused Oil
- Soak dried chamomile in olive oil for 2 weeks to create a soothing massage oil.
3. DIY Chamomile Bath Soak
- Combine dried chamomile, Epsom salt, and lavender for a relaxing bath blend.
Troubleshooting Common Issues
Yellowing Leaves
- Cause: Nutrient imbalance or overwatering.
- Solution: Adjust the nutrient solution and improve drainage.
Root Rot
- Cause: Poor oxygenation.
- Solution: Use air pumps and clean reservoirs regularly.
FAQs About Chamomile Hydroponics
Is Chamomile Easy to Grow Hydroponically?
Yes, chamomile is relatively easy to grow in hydroponic systems, especially for beginners.
Can I Grow Chamomile Without Artificial Lights?
If you have access to bright natural light, you can grow chamomile without LEDs. However, grow lights ensure consistent yields.
How Long Does Chamomile Take to Bloom?
Chamomile typically blooms within 6-8 weeks in optimal hydroponic conditions.
Conclusion
Hydroponic gardening opens endless possibilities, and growing chamomile this way is a rewarding experience. From its faster growth rates to its myriad of uses, chamomile is the perfect plant to start your hydroponic journey. Whether you’re aiming for fresh tea or crafting homemade skincare products, hydroponically grown chamomile is sure to bring joy and relaxation into your life.
Start today—set up your system, plant your chamomile seeds, and watch your hydroponic garden bloom with success!

