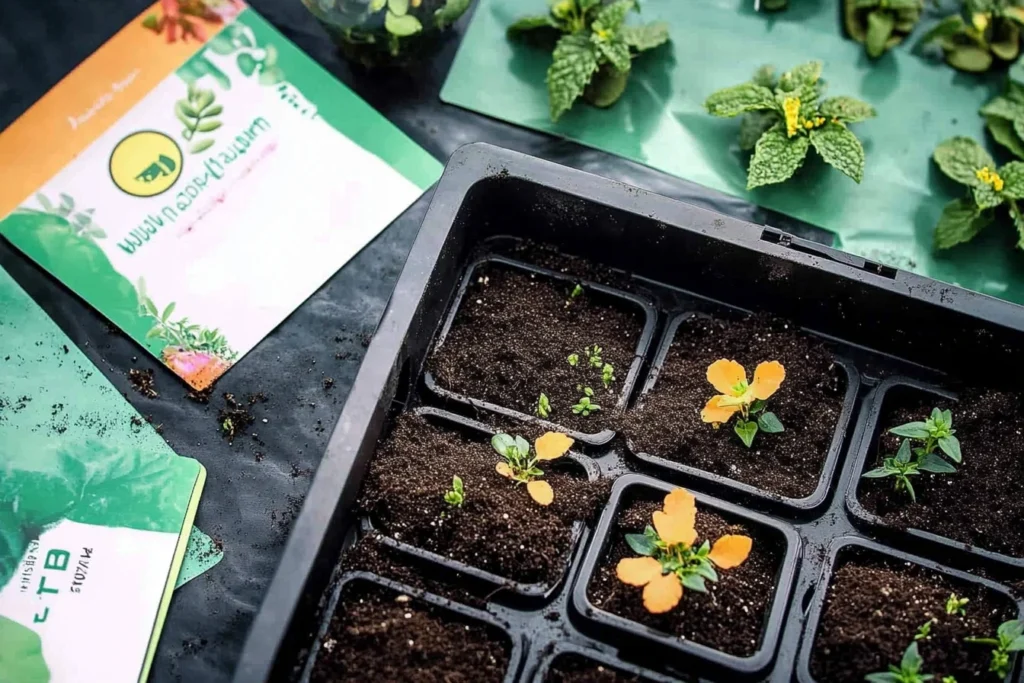
Starting seeds is an exciting step in the gardening journey and a vital component of establishing a thriving garden. Whether you’re a novice gardener or have a green thumb, mastering the art of seed starting can significantly improve your planting success. Follow these detailed tips to cultivate your seedlings from the comfort of your home or garden!
Table of Contents
- Why Start Seeds?
- Essential Supplies for Starting Seeds
- Choosing the Right Seeds
- Preparing Your Seed Starting Mix
- Sowing the Seeds
- Caring for Your Seedlings
- Transplanting Seedlings
- Conclusion
- FAQs
Why Start Seeds?
Starting your own seeds offers numerous advantages, including:
- Cost Efficiency: Grow more plants for less money.
- Plant Variety: Access a broader range of plant species, including heirlooms and unique breeds.
- Control Over Growth Conditions: Customize the germination environment to suit your plants’ needs.
By beginning early, you give your plants a head start, which often leads to healthier and more robust growth.
Essential Supplies for Starting Seeds
To create an ideal environment for your seedlings, gather the following supplies:
- Seed Trays or Cell Packs: Ensure they have drainage holes to prevent overwatering.
- Seed Starting Mix: A lightweight, fine-textured soil that retains moisture yet drains well.
- Labels: Keep track of plant varieties as they sprout.
- Watering Can or Spray Bottle: For gentle moisture application.
- Light Source: Natural sunlight or grow lights to provide adequate light for your seedlings.
These tools are vital for successful seed starting and will help ensure your plants thrive as they grow.
Choosing the Right Seeds
When selecting seeds, consider the following factors:
- Local Climate: Choose varieties suited to your growing zone. For instance, tomatoes thrive in warm climates, while cold-hardy veggies like kale do better in cooler temperatures.
- Growing Season Length: Select seeds that correspond with your area’s growing season. Many seed packets indicate the ideal starting time.
- Personal Preferences: Think about what you enjoy eating or planting. Don’t shy away from experimenting with unusual varieties!
Popular seed options include tomatoes, peppers, cucumbers, and herbs like basil and parsley.
Preparing Your Seed Starting Mix
To create a perfect seed starting mix:
- Start with Sterile Components: Use pre-packaged seed starting mix or create your own using peat moss, vermiculite, and compost.
- Moisten the Mix: Lightly dampen your mix before filling your trays to ensure it’s easy to work with.
- Fill Containers: Gently pack the mixture into your trays, ensuring it’s not too dense—this is critical for seedling root growth.
A well-prepared seed starting mix can dramatically affect germination rates and seedling health.
Sowing the Seeds
When it’s time to plant your seeds, follow these steps:
- Read Seed Packets: Follow the instructions for depth and spacing specific to each type of seed.
- Sow Seeds: Use a pencil or your finger to poke small holes in the soil, and place seeds according to packet guidelines.
- Cover and Mist: Lightly cover the seeds with soil and give them a gentle mist to ensure moisture without displacing the seeds.
Timing is crucial; aim to plant according to the recommended dates for your region or indoors around 6–8 weeks before the last frost.
Caring for Your Seedlings
Nurturing your seedlings is essential for their development. Here’s how:
- Temperature Control: Keep the germination area warm, ideally between 70°F and 75°F (21°C to 24°C) for most seeds.
- Light Exposure: If using artificial lights, ensure seedlings receive about 14-16 hours of light daily. Position lights 2 inches above the seedlings.
- Watering: Check the moisture daily. The soil should be kept moist but never soggy. Use a spray bottle for gentle watering.
Monitoring your seedlings regularly will foster their growth and vitality.
Transplanting Seedlings
Once your seedlings have developed their first true leaves and are about 2-3 inches tall, it’s time for transplanting.
- Harden Off: Gradually acclimate your seedlings to outdoor conditions over a week by taking them outside for a few hours each day.
- Select a Suitable Location: Choose a planting spot with adequate sunlight and the appropriate soil type for your plants.
- Space Appropriately: Follow spacing guidelines to ensure your plants have room to grow without crowding.
Transplanting at the right time can significantly boost yield and health.
Conclusion
Starting seeds is a gratifying process that lays the foundation for a flourishing garden. By embracing these seed starting tips, you’ll be on your way to cultivating beautiful and productive plants that enhance your garden experience. Whether you’re planting vegetables, herbs, or flowers, remember that patience and care are key to successful gardening.
FAQs
Q: How deep should I sow my seeds?
A: Generally, sow seeds at a depth twice their diameter. Check individual seed packets for specific recommendations.
Q: What’s the best soil for seed starting?
A: A sterile seed starting mix that retains moisture and provides good drainage is ideal for starting seeds.
Q: When should I start my seeds indoors?
A: As a rule of thumb, start your seeds 6-8 weeks before your last frost date. Refer to seed packets for specific timing.
Q: How can I tell if my seedlings need water?
A: Check the top inch of the soil. If it feels dry, it’s time to water. The seedling leaves may droop if they’re under-watered.
