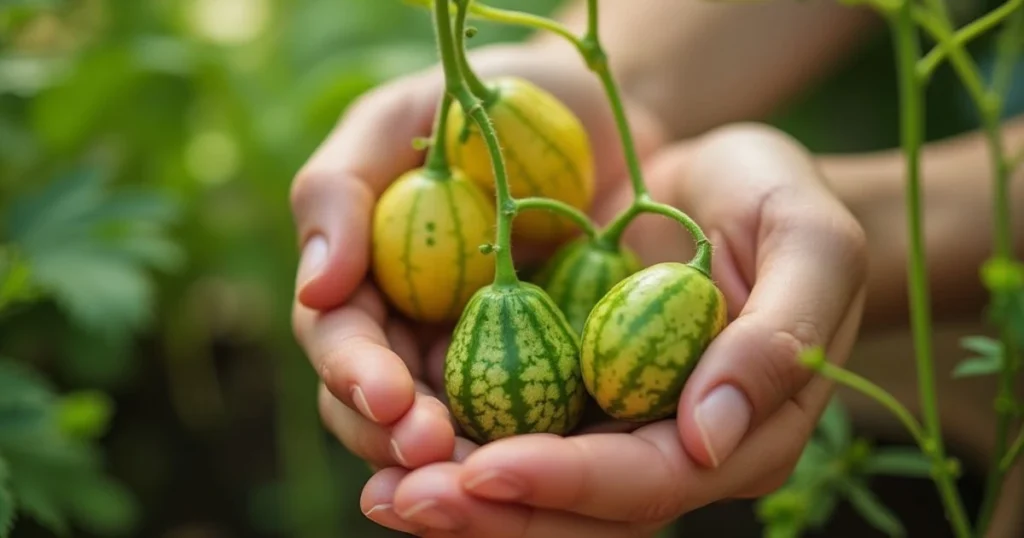
Imagine a tiny fruit that looks like a miniature watermelon but has the zesty bite of cucumber and lime. Cucamelons, also known as Mexican sour gherkins, are not only adorable and delicious but also incredibly rewarding to grow—especially in containers. Whether you have a spacious balcony, a small patio, or even just a sunny windowsill, cucamelons can bring the joys of gardening right to your doorstep. Let’s dive into how you can grow these fascinating fruits and why they deserve a spot in your container garden this year.
Table of Contents
What Are Cucamelons and Why Grow Them in Containers?
What Are Cucamelons?
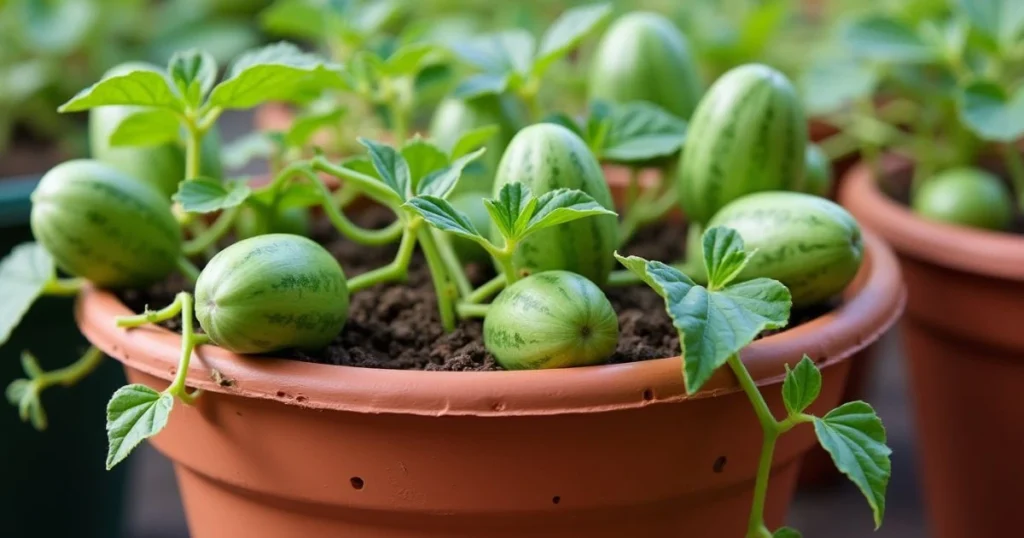
Cucamelons (Melothria scabra) are native to Central America and have been cherished for generations. These grape-sized fruits resemble watermelons in appearance but have a tangy, refreshing flavor. Often described as a blend of cucumber and citrus, cucamelons are perfect for snacking, pickling, or adding a quirky twist to salads and drinks.
Why Choose Containers?
Growing cucamelons in containers has several advantages:
- Space Efficiency: Perfect for small spaces like balconies or patios.
- Soil Control: You can optimize the soil’s nutrients and drainage.
- Mobility: Easily move your plants to capture the best sunlight or protect them from harsh weather.
- Pest Management: Elevated containers reduce the likelihood of ground-dwelling pests.
Getting Started – What You Need to Grow Cucamelons in Containers
Choosing the Right Container
Selecting the right container is a crucial first step, as it directly impacts the health and productivity of your cucamelon plants. Keep these factors in mind:
- Container Size:
- Cucamelons require plenty of room for their root system to grow. Choose a container that holds at least 5 gallons of soil, as this provides enough space for nutrient retention and moisture distribution.
- Ensure the container is at least 12 inches deep to accommodate the cucamelons’ extensive root growth.
- Drainage Features:
- Drainage holes are crucial for avoiding water buildup, which can cause root decay. If your chosen container doesn’t have holes, drill some at the bottom before planting.
- Material Matters:
- Containers made from terracotta are great for retaining moisture while allowing airflow to the roots. However, they may dry out more quickly in hot climates.
- Plastic pots are lightweight, durable, and retain water better, making them ideal for warmer regions.
- Fabric grow bags are another excellent option, as they provide aeration to roots and help prevent overwatering.
- Mobility Considerations:
- If you live in a region with unpredictable weather, opt for containers with wheels or lightweight options that are easy to move. This allows you to protect your cucamelons from extreme heat or cold.
Preparing the Soil
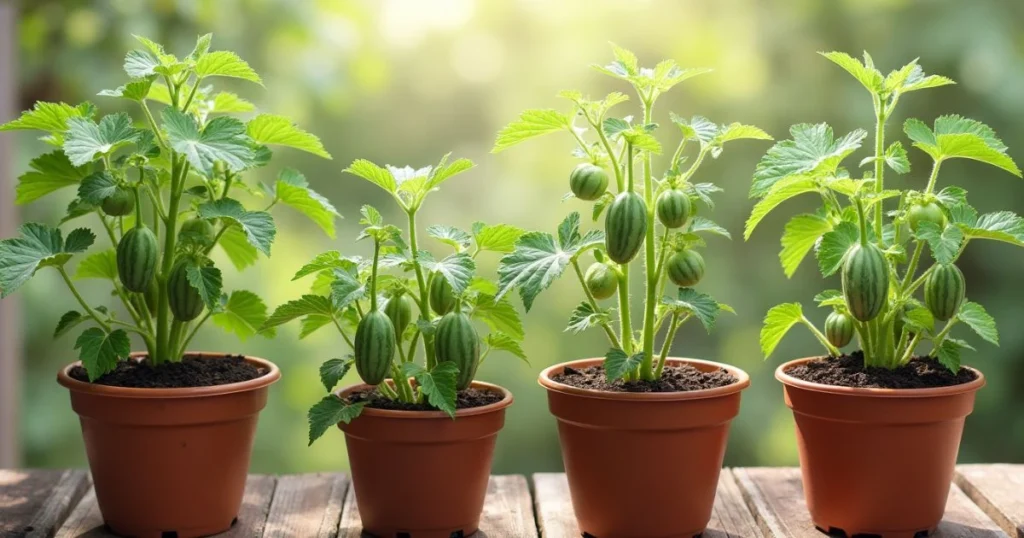
The foundation of any successful container garden lies in the quality of the soil. Cucamelons thrive in nutrient-rich, well-draining soil that provides the right balance of moisture and aeration. Here’s how to prepare the ideal growing medium:
- Choose Well-Draining Soil:
- Combine high-quality potting soil with organic compost to improve fertility and texture. A 3:1 ratio of potting soil to compost works well.
- Avoid using garden soil, as it can become compacted in containers, reducing airflow to the roots.
- Adjust the pH Levels:
- Cucamelons prefer a neutral to slightly acidic soil, with a pH range between 6.0 and 7.0.
- Test your soil with a pH testing kit, and amend it if necessary using lime (to raise pH) or sulfur (to lower pH).
- Incorporate Organic Fertilizers:
- Before planting, mix in organic fertilizers such as:
- Bone meal for phosphorus, which encourages strong root development.
- Slow-release fertilizer pellets to provide consistent nutrition throughout the growing season.
- Worm castings or well-rotted manure to boost microbial activity in the soil.
- Before planting, mix in organic fertilizers such as:
- Ensure Aeration:
- Adding perlite or coarse sand can enhance drainage and prevent the soil from becoming waterlogged.
Sourcing Seeds or Seedlings
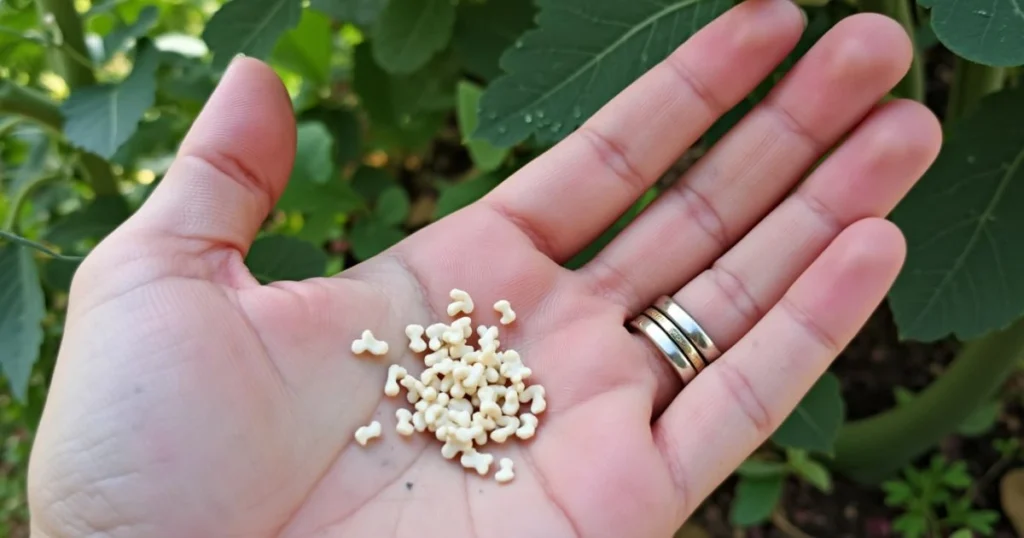
Getting high-quality seeds or healthy seedlings is the key to starting your cucamelon journey. There are several choices you can explore:
- Purchasing Seeds:
- Look for cucamelon seeds from a reputable supplier or seed company. Online gardening stores and local nurseries often carry them.
- Check the expiration date on seed packets to ensure viability, as older seeds may have lower germination rates.
- Starting Seeds Indoors:
- Cucamelons have a long growing season, so it’s best to start seeds indoors 4-6 weeks before the last frost date in your area.
- Sow seeds in seed trays or small containers with a specialized seed-starting mixture.
- Place them in a warm, sunny spot or under grow lights, and water lightly to keep the soil moist.
- Once seedlings emerge, thin them out to leave the strongest plants, and continue to nurture them until they’re ready for transplanting.
- Buying Established Seedlings:
- If you want a head start, purchase established cucamelon seedlings from a local nursery. This eliminates the germination process and allows you to plant directly into your containers once the weather is warm enough.
- Look for seedlings with vibrant green leaves and a strong stem to ensure they’re healthy and ready for growth.
- Saving Seeds:
- For long-term gardeners, you can save seeds from mature cucamelons at the end of the growing season. Scoop out the seeds, rinse off any pulp, and let them dry completely before storing in a cool, dark place.
How to Plant Cucamelons in Containers
Step-by-Step Planting Guide
- Fill Your Container:
- Begin by filling your chosen container with the prepared soil mix.
- Leave about 2 inches of space at the top to prevent water and soil from spilling over when watering.
- Plant Seeds or Seedlings:
- For Seeds:
- Sow cucamelon seeds ½ inch deep and space them 2-3 inches apart in the container.
- Cover lightly with soil and pat gently to secure the seeds in place.
- For Seedlings:
- Dig a small hole in the center of the container, large enough to accommodate the seedling’s root ball.
- Place the seedling into the hole, ensuring the base of the stem is at soil level. Fill in the hole with soil and press gently to remove air pockets.
- For Seeds:
- Water Thoroughly:
- After planting, water the soil deeply to ensure it’s evenly moist.
- Avoid overwatering, as cucamelons prefer moist but well-drained soil to prevent root rot.
- Set Up Support:
- Install a trellis, stake, or tomato cage in the container immediately after planting. This prevents damage to the roots later on and provides essential support for the vining plants.
Spacing and Support
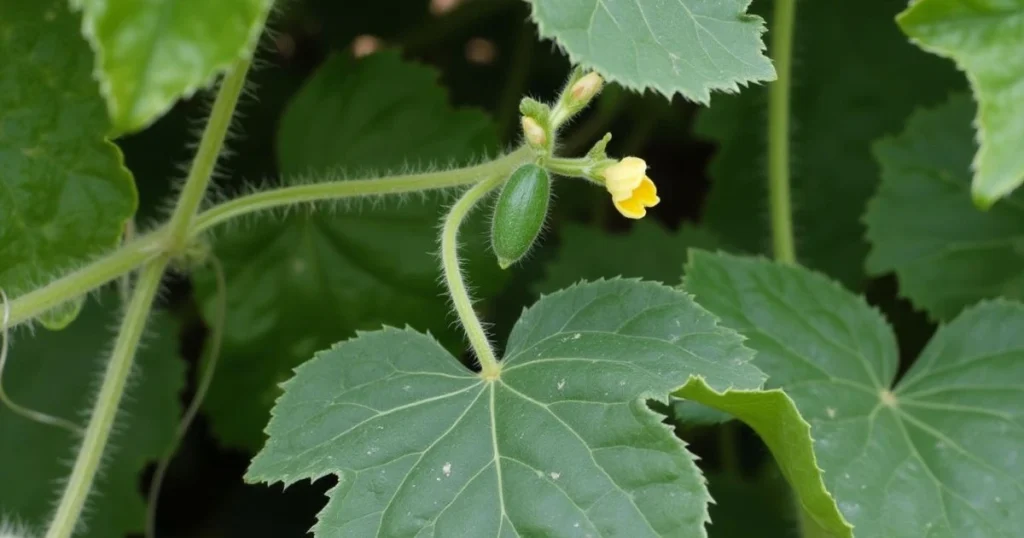
Cucamelons are vigorous climbers, and providing adequate space and support is crucial for healthy growth and high yields.
- Optimal Spacing:
- If you’re planting multiple cucamelons in larger containers or grow bags, maintain a spacing of 12 inches between plants to avoid overcrowding.
- Support Structures:
- Cucamelons naturally grow as vines and require a sturdy structure to climb. Consider using:
- Trellises: These provide a vertical surface for the vines to cling to, maximizing space in smaller areas.
- Tomato Cages: Ideal for keeping the vines contained within the container.
- Bamboo Stakes: Place three to four stakes in the container, tying them together at the top to create a teepee-like structure.
- Cucamelons naturally grow as vines and require a sturdy structure to climb. Consider using:
- Training the Vines:
- Start training the vines early by gently guiding them onto the support structure as they grow.
- Use soft plant ties or clips to secure the vines to the trellis or stakes without damaging them.
- Maximizing Yield:
- Vertical growth encourages better air circulation, reducing the risk of diseases and pests.
- Proper support also prevents the vines from sprawling, keeping the plant tidy and making it easier to harvest cucamelons.
Caring for Your Cucamelons
Watering and Light
- Watering: Ensure regular watering to keep the soil evenly moist without over-saturating it. Check moisture levels by sticking your finger 1 inch into the soil.
- Sunlight: Cucamelons need 6-8 hours of full sun daily. In hotter climates, provide partial shade during peak heat.
Fertilizing and Pruning
- Feeding: Apply liquid fertilizer every 3-4 weeks during the growing season.
- Pruning: Remove dead or overcrowded vines to improve air circulation and boost fruit production.
Managing Pests and Diseases
- Common pests: Aphids, whiteflies, and spider mites.
- Solutions:
- Spray neem oil or insecticidal soap.
- Introduce beneficial insects like ladybugs.
- Prevent diseases by ensuring proper airflow and avoiding overwatering.
Harvesting Cucamelons
When to Harvest
- Maturity: Cucamelons are ready to harvest about 60-75 days after planting.
- Signs: Pick fruits when they are 1-2 inches long and firm to the touch.
How to Harvest
- Use scissors or gently twist the fruit to avoid damaging the vine.
- Frequent harvesting encourages more fruit production.
Storing and Preserving
- Refrigeration: Store fresh cucamelons in the fridge for up to 2 weeks.
- Preservation: Pickle cucamelons for a tangy treat or freeze them for later use.
Creative Ways to Use Cucamelons
Fresh and Fun Recipes
Quick Pickled Cucamelons Recipe
| Ingredient | Quantity |
|---|---|
| Cucamelons | 2 cups |
| White vinegar | 1 cup |
| Sugar | 2 tbsp |
| Dill sprigs | 3 |
- Pack cucamelons into a sterilized jar.
- Boil vinegar, sugar, and water to create the brine.
- Pour the brine over cucamelons and seal the jar.
- Let sit for 24 hours before enjoying.
Other Ideas
- Add cucamelons to salads for a citrusy crunch.
- Use them as garnishes for cocktails or mocktails.
- Create a unique charcuterie board with fresh cucamelons.
Frequently Asked Questions About Growing Cucamelons in Containers
Can I Grow Cucamelons Indoors?
Yes, cucamelons can thrive indoors with sufficient light. Place the pots on a sunny windowsill or add grow lights for extra support.
How Long Does It Take for Cucamelons to Grow?
Cucamelons germinate in 7-14 days and are ready for harvest in 60-75 days.
What Pests Should I Watch Out For?
Aphids and spider mites are common pests. Use organic sprays or introduce beneficial insects to manage infestations.
Conclusion
Growing cucamelons in containers is a delightful experience that combines practicality with a touch of whimsy. With minimal effort and space, you can enjoy these charming fruits all season long. Start your cucamelon garden today and discover the joy of cultivating one of the most exciting fruits of the year!
Ready to grow your cucamelons? Share your journey with us in the comments below and inspire others to try container gardening!
