There’s magic in digging into rich soil and finding your first homegrown potato. Imagine planting one seed potato and getting eight to ten plump tubers. This small effort gives you food for months. Growing potatoes turns a backyard into a food factory.
With full sun, loose soil, and just one inch of water weekly, these plants do great. Even new gardeners can grow them well.
Imagine a single potato in spring becoming your family’s winter food. This guide makes growing potatoes easy. You’ll learn how to pick the right variety, avoid blight or scab, and get a big harvest.
Key Takeaways
- Potatoes yield 8–10 tubers per seed, making them a high-yield crop for home gardens.
- Maintain soil pH between 5.8 and 6.5 for strong growth and disease resistance.
- Hilling vines to 18 inches boosts yields and protects tubers from sunlight.
- Consistent weekly watering and early blight detection prevent crop failure.
- Scab prevention involves lowering pH to 5.0–5.2 and applying sulfur dust to seed potatoes.
- Regular pest checks for aphids, beetles, and blight symptoms ensure a thriving harvest.
Table of Contents
The Benefits of Growing Potatoes in Your Home Garden
Homegrown potatoes are more than fresh food. They bring health and savings benefits. By learning potato farming tips, gardeners can enjoy these perks. Plus, they can grow potatoes in any space using potato growing techniques.
Nutritional Value of Home-Grown Potatoes
Homegrown potatoes are full of nutrients like vitamin C and fiber. Colors like purple or red have more antioxidants than white potatoes. These nutrients decrease when potatoes are stored, making homegrown ones better.
Heirloom varieties add unique flavors not found in stores. They also help keep genetic diversity alive.
Cost Savings of Growing Your Own Potatoes
Starting with potato seeds costs just $5 for 10 plants. Yet, you can get 10-20 lbs of potatoes. This is cheaper than buying organic potatoes at stores.
Use potato growing techniques like raised beds to grow more in less space. A 4×4 foot bed can yield 20+ potatoes using square foot gardening.
Variety Options Not Available in Stores
Stores rarely have heritage potatoes like Russian Banana or Peruvian Blue. These need the right soil pH (5.0-6.0) and hilling. Even city gardeners can grow fingerlings in grow bags or buckets.
This way, you can enjoy flavors and textures not found in stores. Growing heirlooms also helps save rare varieties for future harvests.
Understanding Different Potato Varieties for Home Cultivation
There are over 5,000 potato varieties worldwide. Choosing the right one for your garden is essential for growing potatoes. Think about how you plan to use them. For baking, frying, or mashing, mealy russets like Russet Burbank are great. Waxy varieties, like Red Pontiac, are perfect for soups or salads.
All-purpose potatoes, such as Yukon Gold, work well in most dishes. They offer a mix of textures.
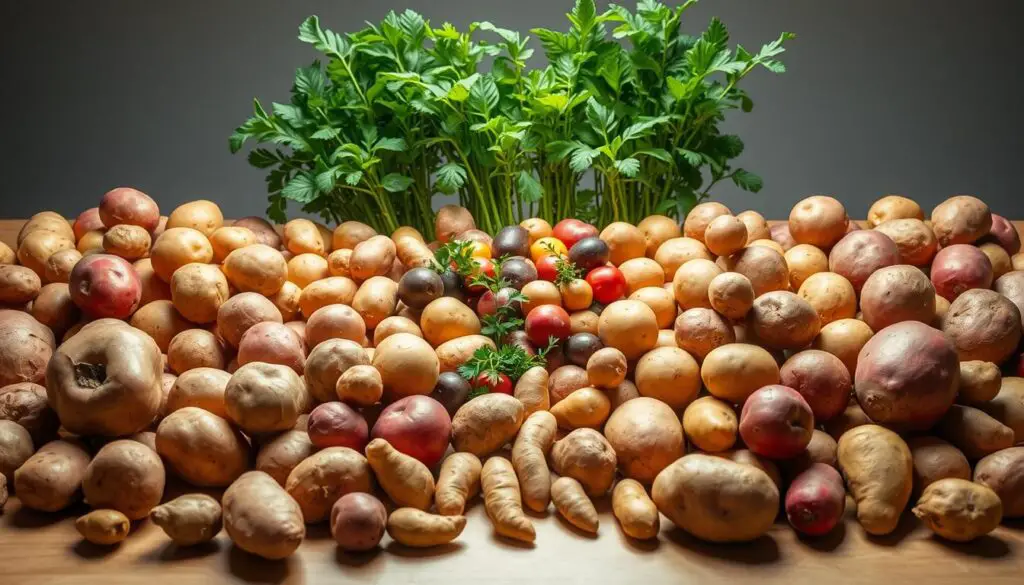
Early-season varieties, like Red Duke of York, are ready in 60 days. They’re ideal for quick planting cycles. Maincrop Sarpo Mira is great for longer seasons and fights blight.
For small spaces, try Charlotte. It grows compactly. When planting potatoes, choose disease-resistant types like King Edward to avoid crop loss.
“Choosing the right variety means choosing success,” say experts at the USDA. “Match your climate and culinary goals to maximize yield and flavor.”
- Starchy: Russet, Kennebec
- Waxy: Red Bliss, La Ratte
- All-purpose: Yukon Gold, Katahdin
Think about your climate. In warm areas, Desiree is drought-tolerant. Cooler places do well with Shepody’s cold resistance. Always rotate crops to avoid disease. With so many varieties, you’ll find the perfect match for your kitchen and garden.
When Is the Best Time for Growing Potatoes?
Timing is everything when it comes to how to grow potatoes. Getting it right means healthier potato plant care and better harvests. Here’s your guide to planting at the perfect time.
Spring Planting Timeline
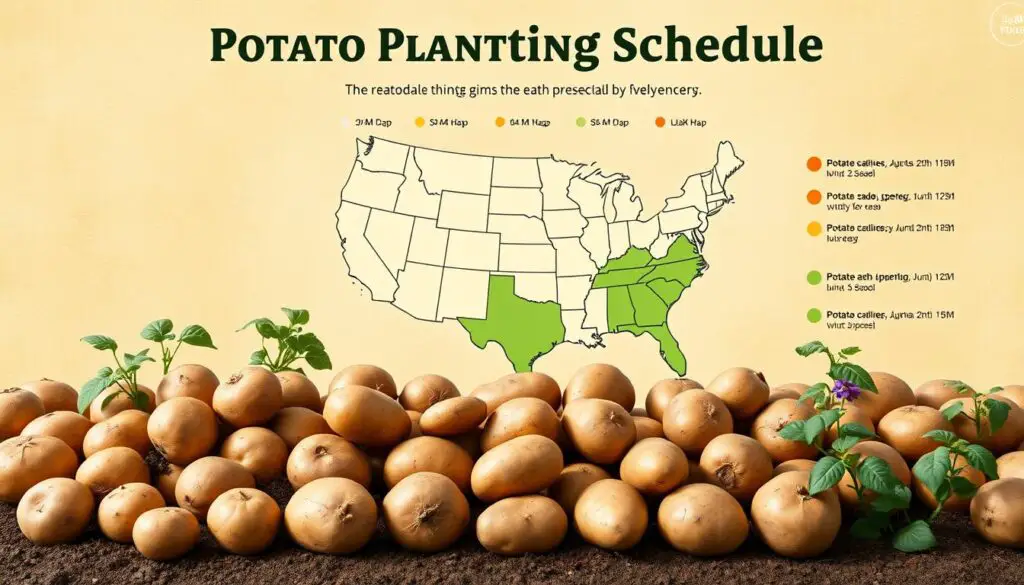
Begin when the soil hits 45–50°F (40°F minimum). Plant seed pieces once the soil warms up. In the Twin Cities, start in early April. Southern Minnesota can plant a bit earlier, while northern areas wait until May.
- Soil test with a thermometer to confirm readiness.
- Pre-sprout seed potatoes 1–2 weeks before planting for faster growth.
- Complete planting 2–4 weeks before the last spring frost.
Fall Planting Considerations
For a fall harvest, plant in late summer. In warm zones like Texas, plant by mid-September. Young plants need row covers to avoid early frosts. Varieties like Kennebec do well in fall.
Regional Timing Differences Across the United States
Climate zones affect planting dates. Here’s a quick guide:
| Region | Planting Window | Harvest Month |
|---|---|---|
| North Texas | February–March | March–June |
| Southern Minnesota | Early April | June |
| Northern States | May | July–August |
| Warmer Climates | January–March | March–June |
Adjust for local frost dates and soil warming. Use mulch or cloths to extend seasons if needed.
Selecting and Preparing Seed Potatoes
Choosing the right seed potatoes is the first step in planting potatoes. Certified seed potatoes are disease-free and guaranteed to sprout. Unlike grocery store tubers, they are not treated to prevent sprouting. Start with trusted sources to ensure your potato growing techniques begin on solid ground.
Where to Source Quality Seed Potatoes
- Buy from certified growers like Burpee or Johnny’s Selected Seeds for disease-free stock.
- Local garden centers or seed catalogs offer varieties like Carola or Russets, bred for strong growth.
- Avoid supermarket potatoes, which often contain growth inhibitors.
cutting and Curing Seed Potatoes
Properly prepare seed pieces to maximize yield:
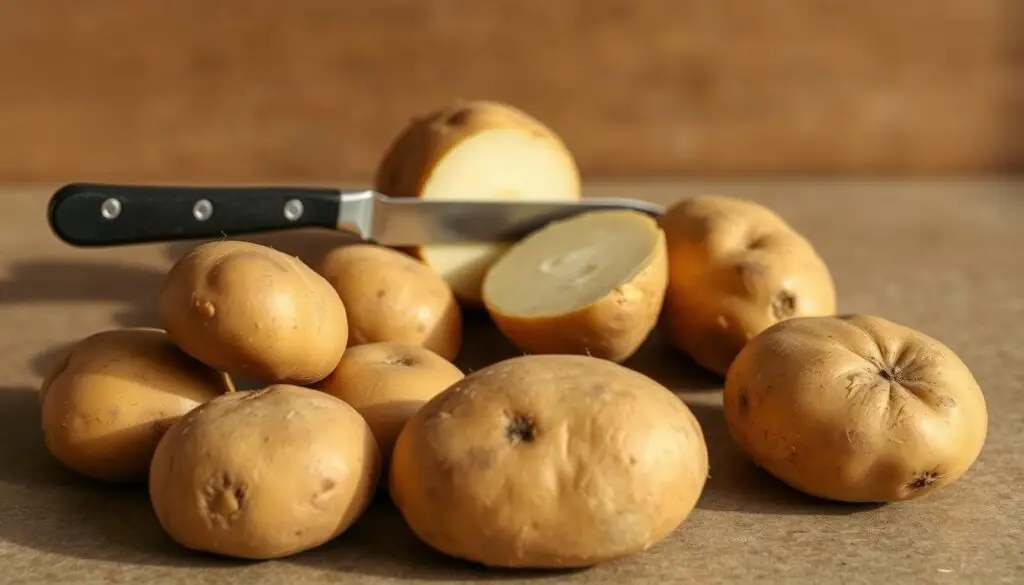
- Cut large tubers into 1¼-inch chunks, each with at least one eye.
- Let cut surfaces cure in a dry, shaded spot for 1–2 days to heal cuts and reduce rot risk.
This curing step is critical to prevent fungal infections during planting potatoes.
Pre-Sprouting Techniques for Faster Growth
Speed up growth by pre-sprouting (chitting):
- Place seed potatoes in a cool (50–60°F), well-lit area 4–6 weeks before planting.
- Rotate tubers weekly to encourage even sprout development.
- Plant when sprouts are ½–1 inch long for a head start in the garden.
These steps align with USDA-recommended practices to boost early-season vigor.
Best Soil Preparation and Requirements for Potato Success
Healthy growing potatoes starts with the right soil. The best soil for growing potatoes is loose, well-drained, and rich in organic matter. Sandy or loamy soils are best. Heavy clay can cause rot if not amended.
Aim for a pH between 5.8 and 6.5 to prevent scab diseases.
- Drainage: Avoid waterlogged soil to prevent tuber rot.
- Temperature: Keep soil between 60°F–70°F during tuber formation.
- Amendments: Add compost or aged manure to improve structure and nutrients.
| Soil Type | Issue | Solution |
|---|---|---|
| Clay | Compacted, poor drainage | Add sand and compost |
| Sandy | Low nutrient retention | Blend in organic compost |
| Loamy | Already ideal | Topdress with compost yearly |
Test your soil pH using a home kit. Lower pH with sulfur or raise it with lime. Avoid planting potatoes in the same spot for 3 years to reduce disease.
Mulch with straw to regulate soil temperature and moisture. Spacing plants 12–14 inches apart ensures roots have room to spread. Proper soil prep boosts yield and prevents common issues like green skin or shriveled tubers.
Container vs. Ground: Different Methods for Growing Potatoes
Choosing the right way to grow potatoes depends on your space and goals. You need to pick a method that fits your garden’s size and resources. Each method, from traditional trenches to straw bales, has its own pros and cons.
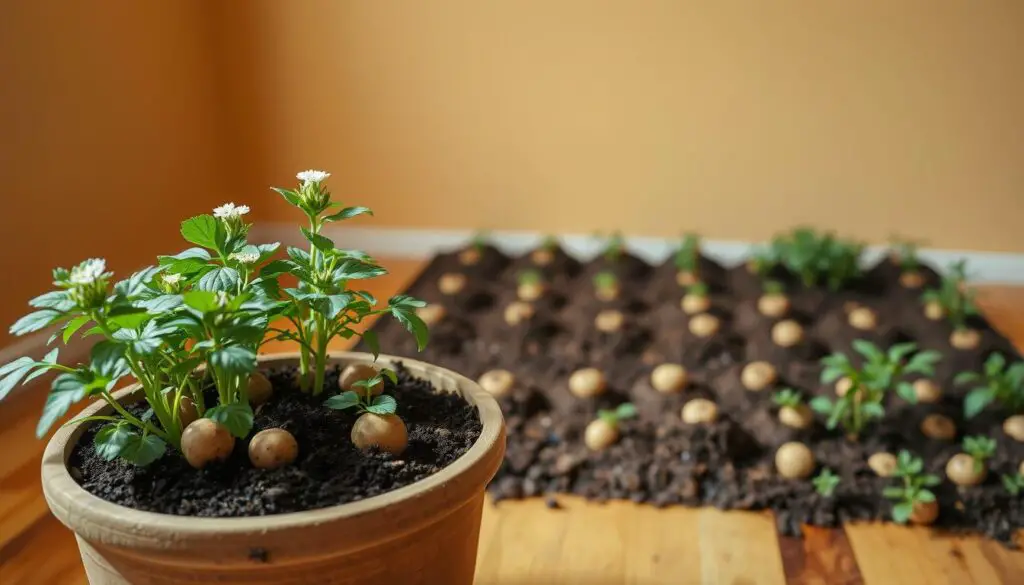
| Method | Space Required | Yield | Effort | Best For |
|---|---|---|---|---|
| Traditional Trench | Large garden plots | High yield | Moderate | Full-size gardens |
| Raised Beds | 30-inch deep beds | Moderate yield | Low | Urban or small plots |
| Containers | 10–15 gallons (30 liters) | Lower yield | Easy | Patio or balcony gardens |
| Straw Bale | No soil needed | Moderate yield | High setup | Soil-free or experimental setups |
Traditional Trench Planting Method
Plant seed pieces 10–12 inches apart in trenches 4–6 inches deep. Cover with 3–4 inches of soil or compost. As shoots emerge, hill soil around plants weekly. This method suits gardens with ample space for rows spaced 30–36 inches apart.
Raised Bed Techniques
Raised beds improve drainage and warmth. Fill 30-inch-deep beds with compost-rich soil. Space seed pieces 12 inches apart. Hill soil around stems as plants grow. Ideal for improving poor garden soil.
Grow Bag and Container Options
Use 10–15-gallon containers with 4+ drainage holes. Place seed pieces 1 foot apart in a mix of potting soil and compost. Add soil layers as plants grow. Harvest by tipping containers onto a tarp. Yields are smaller than ground planting but require less labor.
Straw Bale Potato Growing
Condition bales for 2 weeks before planting. Place seed pieces on top, water thoroughly, and cover with straw. Fertilize weekly with 6-10-10 NPK. Harvest after tops yellow. Great for soil-free gardening.
Try out these potato growing techniques to find what works best for you. Whether you prefer containers for small spaces or traditional trenches for large yields, these methods make growing potatoes easy and tailored to your needs.
Essential Care and Maintenance for Thriving Potato Plants
Good potato plant care leads to healthy growth and lots of potatoes. Keep the soil moist, with 1–2 inches of water each week. This stops potatoes from getting knobby. Let the soil dry a bit before watering again to avoid rotting roots. Drip irrigation helps water reach the roots evenly.
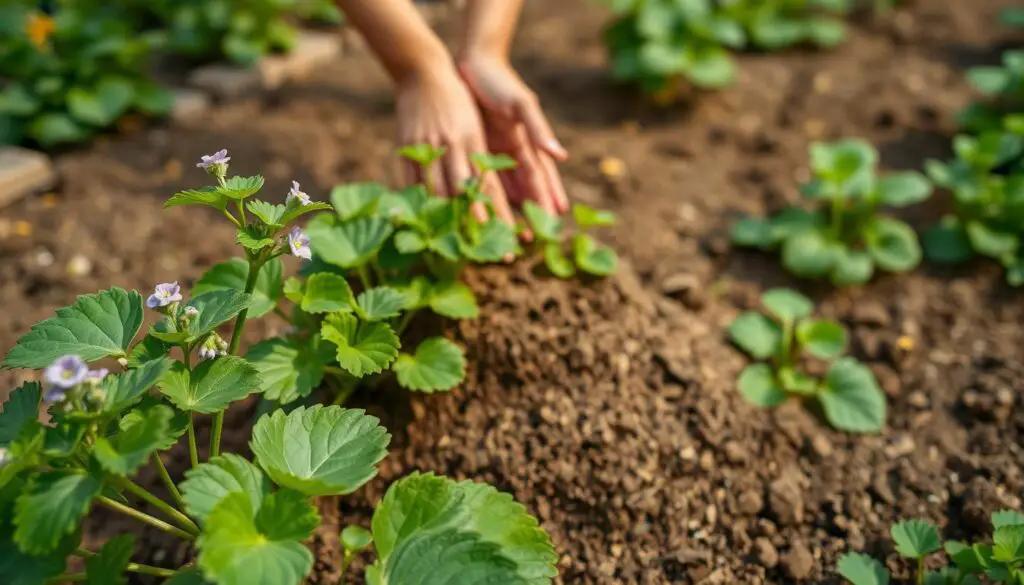
“Hilling is vital for maximizing tuber growth and preventing sun exposure,” say agricultural experts. Regular mounding of soil around stems increases harvestable tubers by up to 30%.
Here are some potato farming tips for keeping your plants in top shape:
- Weekly hilling: Add 3–4 inches of soil around stems every two weeks once plants reach 6–8 inches tall.
- Fertilizing: Apply 5-10-10 NPK fertilizer 4 weeks post-planting and repeat mid-season.
- Weed control: Hoe shallowly to avoid root damage; mulch with straw to suppress weeds and retain moisture.
| Task | Timing | Goal |
|---|---|---|
| Initial hilling | When plants are 6–8″ tall | Support stems and encourage tuber formation |
| Second fertilizer application | 4–6 weeks after sprouting | Boost nutrient availability |
| Final hilling | Before flowering | Maximize tuber space and protect from sunlight |
Watch for yellow leaves, which mean the plants need more nitrogen. Stop watering two weeks before you plan to pick the potatoes. This helps the skins get hard. With the right potato plant care, you can turn a small patch of land into a big harvest.
Identifying and Solving Common Potato Growing Problems
Even with the right care, pests and diseases can pop up. These tips help you tackle problems early and keep your crop safe with smart farming tips.
Pest Management Strategies
Colorado potato beetles are a big problem, with orange eggs on leaf undersides. Check your plants every week and pick off larvae. For big infestations, try neem oil or spinosad sprays.
Aphids spread viruses; introduce ladybugs or use insecticidal soap. Flea beetles can be kept away with row covers during planting. Planting cilantro or garlic with your potatoes can naturally repel pests.
Disease Prevention and Treatment
Early blight shows up as brown spots on leaves, while late blight causes water-soaked lesions. Remove infected leaves and use copper-based fungicides. Scab causes rough skin but rarely harms tubers.
Keep the soil pH acidic (5.0-6.0) to lower disease risk. Rotate crops every 3 years to avoid soil-borne pathogens.
Addressing Growth Issues
Hollow heart forms when soil moisture changes; keep the soil moist. Yellowing leaves might mean you need more nitrogen. Use balanced fertilizer at planting and during growth.
Avoid too much nitrogen, as it delays tuber formation. Hill plants regularly to prevent greening and support root growth.
Conclusion: Harvesting and Storing Your Homegrown Potato Bounty
Timing is everything when harvesting potatoes. New potatoes are ready in 7–8 weeks. Mature ones are dug when plants turn yellow or die back. Use a fork or trowel to gently dig them up.
Check if the skin is firm. If it is, they’re ready for storage or use.
Let potatoes cure in a dark, humid place for 1–2 weeks. Store them in a cool, humid spot. Use burlap sacks or ventilated containers to keep them fresh. Russet and Yukon Gold potatoes last longer, making them great for winter.
Keep an eye on them monthly for any signs of spoilage. Throw away any with mold or soft spots. Freeze or dehydrate cooked potatoes for winter meals. With care, your homegrown potatoes can last 4–6 months.
Properly storing your harvested potatoes helps them last longer. Enjoy your fresh spuds for months to come. Whether baked, mashed, or roasted, your hard work pays off. Try new varieties or methods next season to grow even more.
For more gardening tips follow us on Pinterest
FAQ:
What months do you plant potatoes?
It depends on your climate:
In cooler climates: Plant in March to May for a summer harvest.
In warmer climates: Plant in January to March or September to November for two harvests per year.
The soil should be above 45°F (7°C) and not soggy.
Does removing potato flowers increase yield?
Yes, removing the flowers may help the plant redirect energy from producing seeds to forming larger tubers underground. It’s not essential but can give a slight yield boost.
How often should you water potatoes?
Water 1–2 inches per week.
Keep soil evenly moist, especially during flowering (tuber formation).
Reduce watering once the foliage starts to die back before harvest.
Overwatering can cause rot or shallow tuber growth.
What shouldn’t you plant next to potatoes?
Avoid planting:
Tomatoes and peppers: Same family, same diseases (blight).
Cucumbers and squash: Compete for nutrients.
Carrots: Can stunt each other’s growth.
Sunflowers: They release chemicals that can affect potatoes.
Good companions include beans, corn, and cabbage.
Can I just throw potatoes in the ground?
Technically yes, but results will be poor unless:
The potato is sprouted and disease-free.
You dig it into loose soil and cover it properly.
You hill the soil as it grows.
For better yields, it’s best to follow proper planting practices.
What are the secrets to growing potatoes?
Use certified seed potatoes: Avoid grocery store potatoes (they may carry disease).
Chit before planting: Let them sprout indoors for 2–3 weeks before planting.
Plant in loose, well-drained soil: Add compost for nutrition.
Hill the plants: Cover the stems with soil as they grow to encourage more tubers.
Avoid overwatering: Moist, not wet.
Harvest at the right time: When the foliage dies back, wait 1–2 weeks, then dig.
FAQ
What are the optimal conditions for growing potatoes?
Potatoes need lots of sunlight, well-draining soil, and steady moisture. The best soil temperature for planting is about 45-50°F.
How do I choose the best potato variety for my garden?
Think about your cooking style, climate, and garden space. Know the differences between starchy, waxy, and all-purpose potatoes. Choose disease-resistant types that fit your area.
When should I plant my potatoes?
In most places, plant potatoes in early spring when it’s warm enough. For warmer climates, fall planting is better when it’s cooler.
How can I prepare my soil for planting potatoes?
Make your soil loose and drain well by adding compost or aged manure. Test your soil to keep the pH between 5.8 and 6.5, slightly acidic.
What is the process for cutting seed potatoes before planting?
Split larger seed potatoes into pieces with at least one to two eyes each. Let these pieces dry for a few days in a cool, dry spot to avoid rot.
What are some effective pest management strategies for potatoes?
Use integrated pest management (IPM) like crop rotation and disease-resistant varieties. Also, attract beneficial insects to fight pests like the Colorado potato beetle.
How can I ensure my potato plants are getting enough water?
Water deeply and regularly, more during dry times. But don’t overwater to avoid rot and other problems.
When is the best time to harvest my potatoes?
Harvest new potatoes when plants start flowering. Wait for mature potatoes to have toughened skins, when the leaves die back.
How should I store my harvested potatoes?
Cure potatoes in a dark, cool spot for 1-2 weeks to harden their skins. Store them in a cool, dark, and well-ventilated area. Keep them away from light to prevent greening.
